Guest Post by Allie Beldin @alliebeldin
I have always wondered how teachers on Youtube create videos that look so FANCY! I did some digging and found that several of these instructional videos use green–screens. Green-screens are used to remove the background behind videos so you can replace it with another screen!
Why should you consider creating a green-screen video for your students?
If you want to show practice problems behind you, talk alongside a PowerPoint presentation, or add a picture of your classroom in the background to make students feel as if they are still learning in your school, consider trying the green-screen video method!
I recommend making your videos SHORT and ENGAGING. Try to shoot for making your video under 5 minutes long. Shorter videos will increase engagement and students will be more likely to watch all the way through.
10 Steps to Create a Green-Screen Video
Step 1: Buy a green screen. You can buy a fancy one online on Amazon OR you can do the cheap version like I did. I bought two yards of green, non-reflective fabric from JoAnn Fabrics craft store.
My grand total? A whopping $9.15.
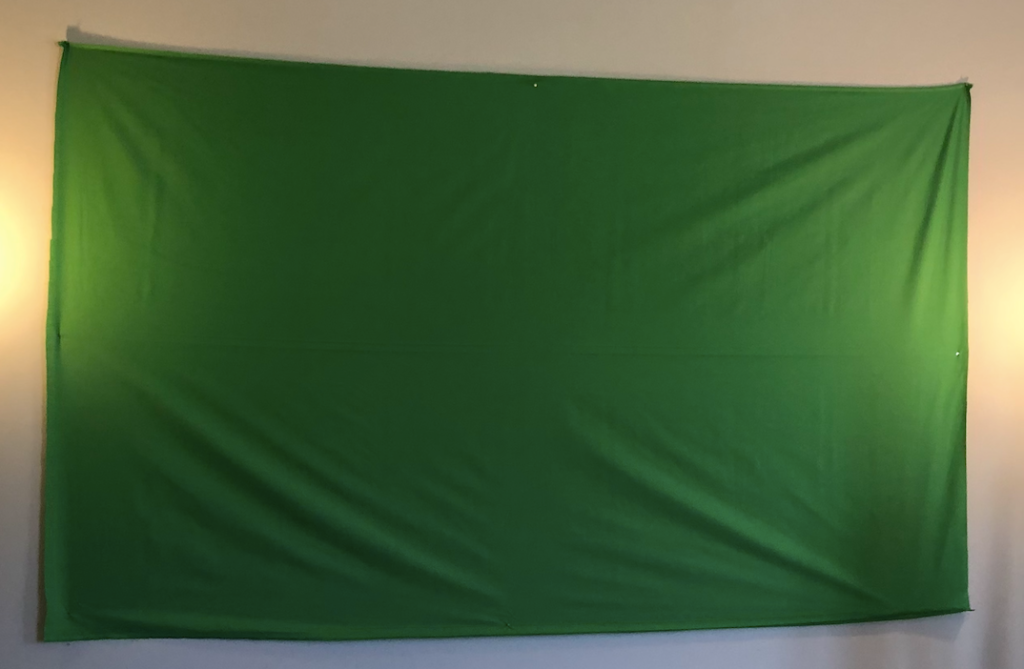
Step 2: Tape or push pin the fabric in a well-lit room. Find some floor lamps or lights in your house to make sure there are no shadows behind you when you stand in front of the green screen. You do not want shadows because it will lower the quality of yourself on your video.

Step 3: Use your personal device, an iPad, or a video camera to take a test video to make sure your lighting is working. I did a test video just to see where the best place to stand was in the frame.
[Please excuse the dance party.]

Step 4: Figure out which lesson you want to teach. Teach your lesson in front of the green screen. Refer to examples from a PowerPoint that you have used in your classroom or create new examples. It is okay if you mess up! Don’t stop the video, just keep recording and start over.

Step 5: Decide what you want the background of your video to look like. Open up Google slides and put up notes or practice problems that you want to pop up behind you in the video. This is the important part. Use Screencastify or another screen recording app to record the presentation of your Google slides. This video will be the video that is played in the background while you are talking!

Step 6: Open up a video editing app. I highly recommend using iMovie because it is extremely user-friendly for editing purposes. Drag both videos to the top of the screen.

Step 7: Drag down the background video first. This is important. Then, drag the green screen video and place it on top of the background clip.
Step 8: Click on the green screen clip. On the top right panel, click on the drop down menu that says “cutaway.” Select the “green/blue screen” option from the drop down menu.

Step 9: Edit the green screen clip during the parts that you may have misspoke or messed up. Add music at the beginning or end if you want to make your presentation more engaging.
Step 10: Watch the video and if you are happy with the final result, click the share button on the top right of the screen. Select “file,” “next,” and “save” to your desktop. It will take a little while to download. Once it has dowloaded, you can upload your video to Youtube and share the link with your students!

I hope this helps some of you during the remote learning process.
Please reach out to me here or on Twitter if you have any questions or ideas about creating green-screen videos for your content.
@MrsBeldin
**Interested in writing a guest blog for my site? Would love to share your ideas! Submit your post here.