Guest post by: Whittney Smith, Ed.D. (@whittneysmith_) is the Principal at Mineola High School. You can follow the work done by our amazing students and teachers by following us at @mineolahs on both Twitter and Instagram.
In high schools across New York State there is always talk of the Regents Exam. This exam has been the focus of teachers since 1878 when the first high school exams were given. On April 6, 2020, that changed… at least for the time being.
Now what? I think we now have the unique opportunity to focus on learning, not the test anymore. While we rely solely on remote learning opportunities… our ability to leverage technology will certainly accelerate our ability to focus on student agency. Some cynics will say that without a Regents Exam, the students will not be motivated anymore, they’re going to “check out.” I don’t think so. Instead, I believe we need to seize this opportunity and engage our students. Remember that first and foremost we teach students, then we teach content… and remember, children are naturally curious, want to make connections, and desire learning things that are relevant to them; things that are real.
When we were thrust into this remote world as we walked out of our schools on March 13, 2020, I sent an email to the faculty. I will never forget that email. Along with a remote learning planning guide, I sent teachers my phone numbers and those of my assistant principals’, so they could reach us at any time. I wanted them to know that we cared about them as people first; we cared about their social and emotional well being just as we wanted them to care for our students and their families.
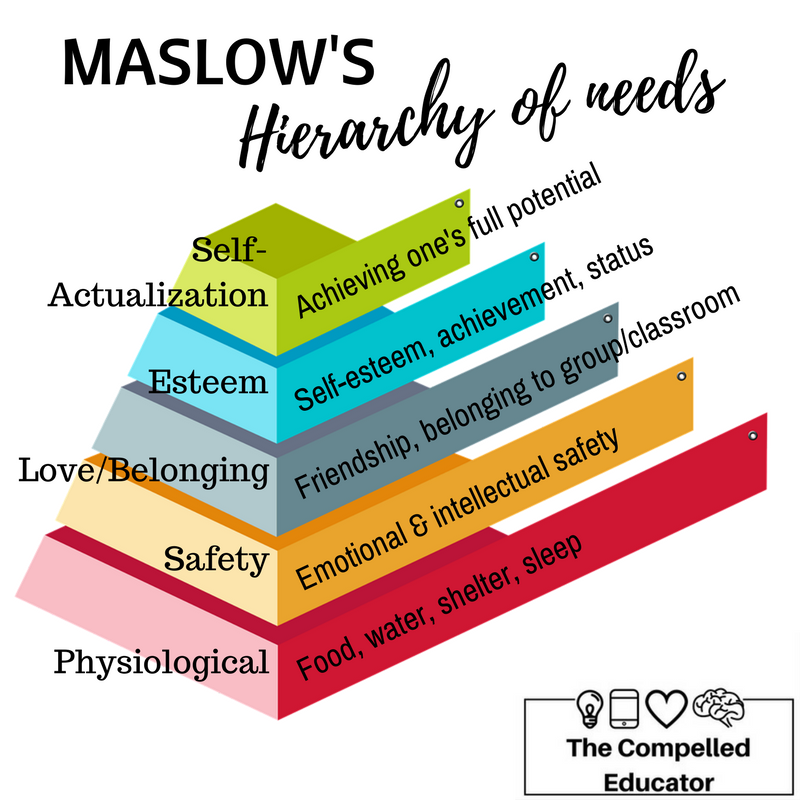
In the educational world we hear a lot about “Maslow before Blooms;” in other words, we need to take into account the hierarchy of human needs before the hierarchy of human learning.
Next, I asked our educators to reflect on remote learning and consider the following while they focused on what remote learning would look like in their ‘new’ classrooms.
- Emphasize Choice – allowing students to choose how they demonstrate their learning will increase completion and help them navigate misconceptions
- Emphasize Learning and Not Grades – when students are not concerned about “the grade,” they are more likely to learn the material on their own, rather than “collaborating” with others (unless that is what you intend them to do).
- Direct All Student & Teacher Tech Related Issues to Bonnie and Katie (they are our Coordinators of Information Technology (CITs) and can do just about anything… and know who to reach out to when they can’t)).
- Last but not least (for now) —> If you are having difficulty reaching a student (e.g. they are not responding) please reach out to our mental health team. They are counseling students and are ready to assist in any way possible.
Never did I think that I would be writing this post on April 30, 2020 (30 days into an extended school closure) telling you that the Regents exams have been canceled.
Now is the time to tap into student interests and passions.
Now is the time to focus on strengths.
Now is the time to give choice.
Now is the time to leverage creation tools. Whether it is a product to create or a problem to solve, allow students to determine how they demonstrate and share their learning.
Now is the time to shift the paradigm as we are not going to take high stakes, multiple choice tests! Let’s do what we’ve always wanted to do… make learning fun!
Bloom’s Taxonomy graphic taken from: https://mylearningnetwork.com/blooming-as-a-learner/
**Interested in writing a guest blog for my site? Would love to share your ideas! Submit your post here.
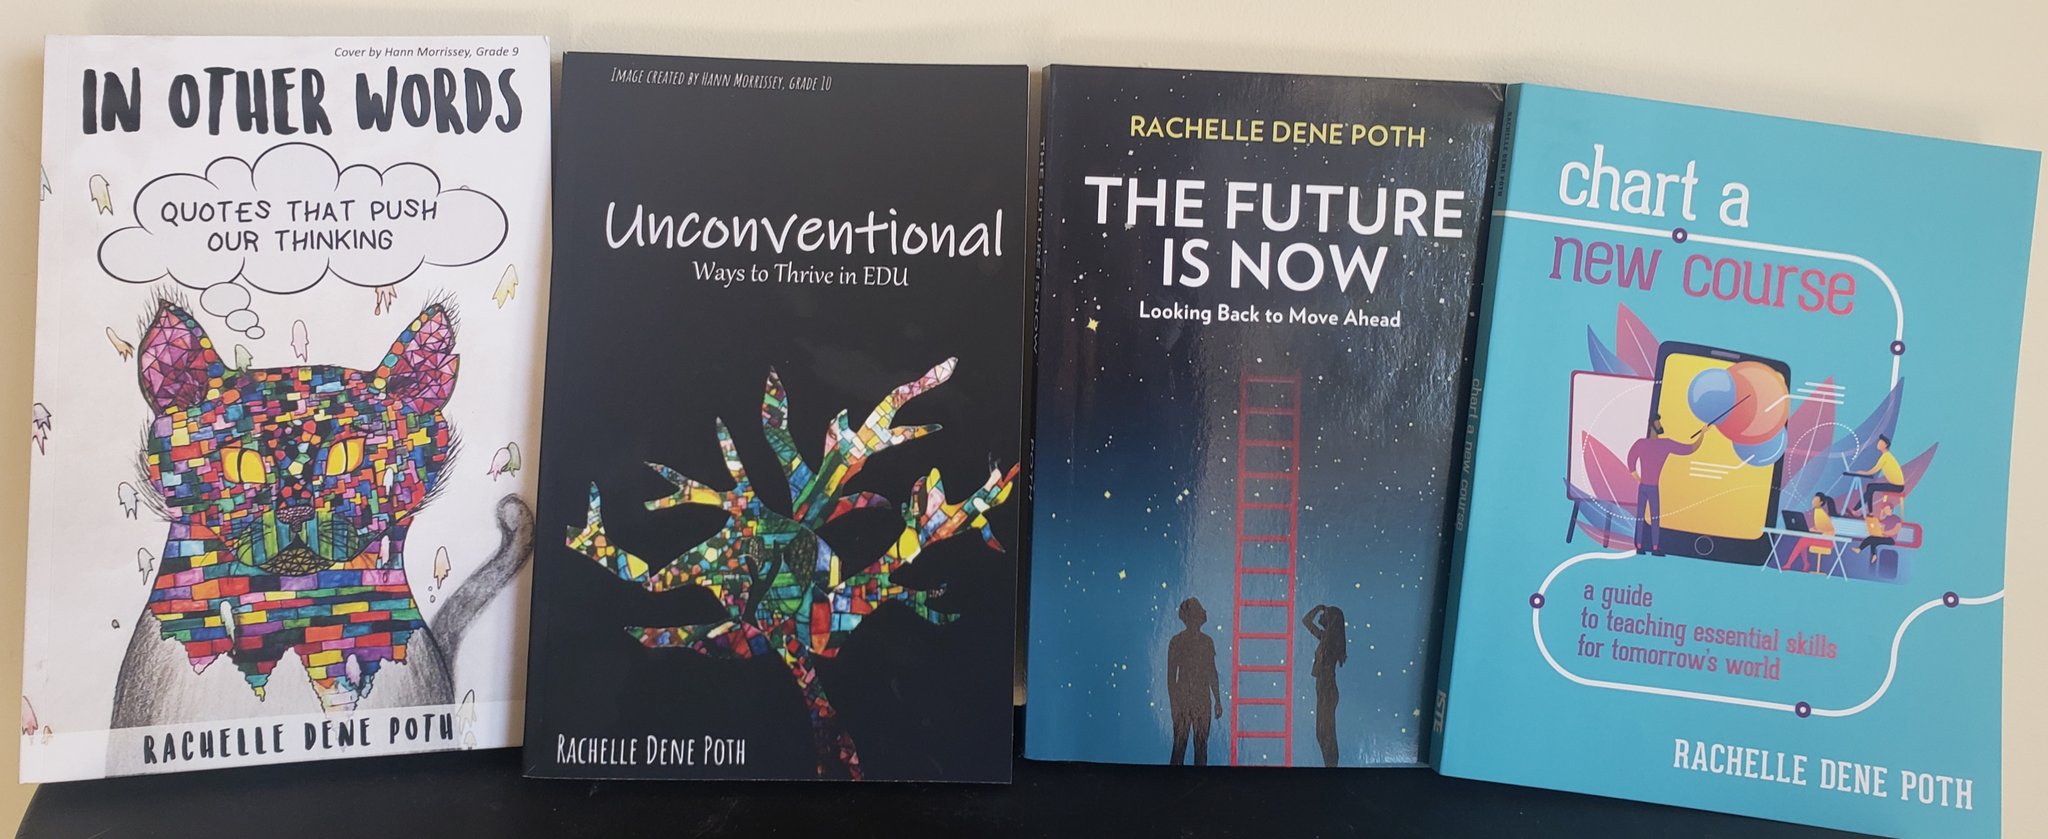
Looking for a new book to read? Many stories from educators, two student chapters, and a student-designed cover for In Other Words.
Find these available at bit.ly/Pothbooks
************ Also check out my THRIVEinEDU Podcast Here!


 One other feature that I thought was important to share with students was the new Immersive Reader and how it works. We enjoyed looking at all of the capabilities with it and using Buncee for learning! Check out the video to learn more