Part Two of my posts on AI, recently published in Getting Smart. (image from CC)
Teaching Students About AI
One of my professional goals this year was to learn more about artificial intelligence (AI). Over the course of the past year, there have been a lot of stories coming out about how schools are adding the concept of artificial intelligence into their curriculum or trying to weave it into different courses offered. The purpose is to help students better understand its capabilities and how it might impact the future of learning and the future of work. When I did some research earlier this year, I was amazed at some of the different uses of artificial intelligence that we interact with each day, and may not realize.
A quick Google search of the term “artificial intelligence” turns up 518 million results in .17 seconds. Compare this with the methods for conducting research years ago, where we had to brainstorm topics as we searched the card catalog, and then had to understand the Dewey Decimal system, in order to find the books on the shelf. Advancements in technology led to the creation of online databases which made it easier to find articles and journals electronically, however it still required us to think of what terms to use in the search and may still have required you to locate the resource from a shelf or borrow it from another library. Today, the capability of technology for finding answers to the questions we have is tremendous. Now through tools like artificial intelligence and virtual assistants we have access to millions of resources in our hands instantly.
What are some everyday uses of AI?
Some common uses of artificial intelligence that many people likely use every day and may not know it are:
- Smartphones: The use of artificial intelligence is used with the photo editor on smartphones. When you want to take a picture, artificial intelligence helps by selecting the appropriate settings and suggesting different modes to you.
- Music and Media: Whether you use something like Spotify or enjoy watching Netflix or even YouTube, artificial intelligence is helping you find the music and media that you want. Over time, it learns based on your selections and then provides recommendations for you to add to your playlist.
- Smart Home Devices: Artificial intelligence is used in smart home devices to adjust the temperature and even lighting based on our preferences.
- Online services: From travel to banking, shopping, and entertainment, these industries rely heavily on artificial intelligence for using chatbots or through algorithms that enable it to track spending, suggest purchases, prevent fraud and complete other transactions much faster.
Because artificial intelligence is used so much in our everyday lives, we need to make sure that our students understand its impact and potential for the future of work and learning.
How can we teach students about artificial intelligence?
One of the best ways we could teach our students is by making sure we keep challenging ourselves. I recently enrolled in the course offered by ISTE U, Artificial Intelligence Explorations and Their Practical Use in the School Environment. The course was made available through a collaboration with ISTE and General Motors Corporate Giving and focused on K-12 STEM education. My interest in the course is to learn more so I am able to share with my 8th grade STEAM course and in my foreign language classes. Having taught about artificial intelligence last year, it is a high area of interest that I want to grow in professionally.
Throughout the course, participants work through ten different modules focused on topics related to artificial intelligence and machine learning. Each module contains activities that enable you to interact with different forms of artificial intelligence, engage in discussions, view videos and to even create things such as chatbots and virtual facilitators. Part of the course includes an IBM Developer course on “Chatbots for Good,” in which you work through activities and learn about design thinking and empathy, and other activities related to the IBM Watson program. The culmination of the course has participants design a Capstone project, which will ideally be used with students through PBL or as a student-directed exploration of AI.
There are many uses of AI for education and one school in Pittsburgh is offering the nation’s first AI course to prepare students. Pittsburgh is where AI began and developed starting back in the 1950s which makes this an exciting event. Students enrolled in the Montour School District, a district known for its innovation and “student-centered, future-focused” mission, are learning about AI through a program that launched this fall. Students will have access to resources from Carnegie Mellon University, which became the first university to offer an undergraduate degree in AI. The goal of the program is to help students learn about AI by exploring the uses of virtual assistants, engage in inquiry-based learning and build their skills in STEM-related fields.
How can we provide the opportunity for all students to learn more about AI?
Simply explaining the concept of artificial intelligence and identifying some examples of what it might look like, does not really enable you to understand it at a deeper level. The best way that I have found to understand it better myself has been by first learning how it functions by trying some of the different tools and interacting with the AI. By trying some the AI experiments and creating chatbots, you and your students can think about how the tasks are being completed, which leads to a better understanding of artificial intelligence.
While schools may not be able to offer a full course to students, there are enough resources available online that teachers can implement in the classroom.
To learn more about AI and Virtual Assistants, have students explore these:
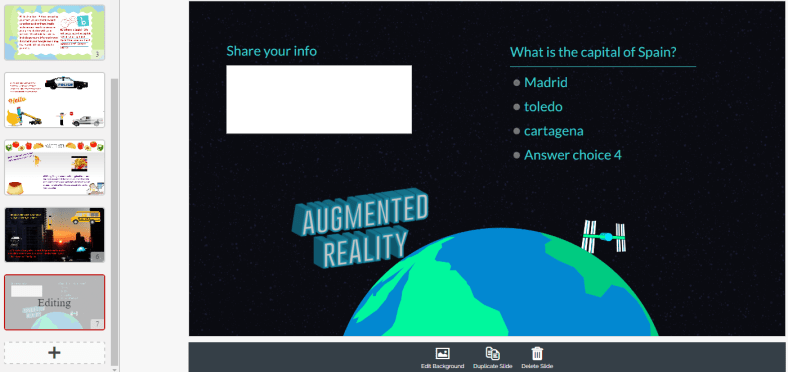
- Google AI Experiments: Through Google experiments, there are hundreds of different experiments available to explore based on AI, Augmented and Virtual Reality. Students can select experiments to try and decide what makes it “artificial intelligence.” The favorites are Quick Draw and Semantris.
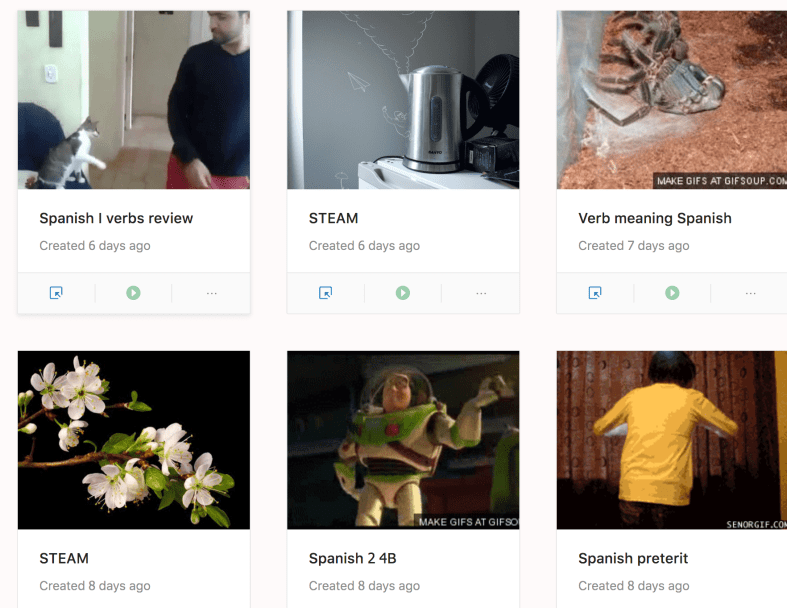
- Botsify: Teachers can teach students online by using artificial intelligence through Botsify. By creating chatbots, teachers provide an innovative learning experience for students, where they can interact with the chatbot, ask and answer questions and even submit quizzes through the chatbot.
- Avatars: It can be fun to have students create their own talking avatars, and use them even as evidence of learning or to create a lesson or instruct on a topic to share with peers or even younger students. Some tools to check out are Voki, Tellagami and My talking avatar.
- Akinator: A “web genius” that tries to guess the famous real or fictional character you are thinking about. It is fun to see the questions that it asks based on your responses and see how many tries it takes for it to guess. It is also available on Google Play and iOS
- Learning tools: There are different apps available that through artificial intelligence, provide students with opportunities to have additional practice and amplify their learning potential. Elementary students can learn about geography through Oddizzi, or math through Splashmath. All students can practice vocabulary by trying Knowji, which uses characters to “bring vocabulary to life” in flashcards. If students have questions, they can try Brainly, which is a tool for students to ask and answer homework questions in a collaborative, community type platform.
Looking to the future with AI
The use of artificial intelligence in the world and specifically in education will continue to grow as more people explore the topic and develop new ways to incorporate it into daily life. The potential for learning through artificial intelligence means that students have access to virtual tutors, can enroll in an online course taught by AI, and have access to the resources they need at the exact moment they need them.


 1. Shared the idea: I told students the idea for making global connections and the “why” behind this newexperience. While doing PBL, it is essential to have the students connect with real-world experiences in authentic ways. Once I explained to my students how I had planned to do this, I then posted a message in a few of the


 8 Things I Learned My First Year Of Teaching With Project-Based Learning