In collaboration with Tonies. All opinions expressed are my own.
In our increasingly digital world, where technology has the potential to be used too often, it’s great to discover innovative tools that don’t require a screen. Educators and families alike are always looking for ways to nurture creativity and spark a love of learning without the need for extra screen time. Enter the Toniebox, a brilliant and innovative audio system that reimagines storytelling and learning for children. With its kid-friendly design, engaging content, and screen-free functionality, the Toniebox has become a favorite in homes and classrooms worldwide.
As an educator who has used Tonieboxes with students, I’ve experienced the impact of this simple yet powerful tool. From the first time you use it, it draws you in, and the excitement builds up for more stories and fun in learning.
What is the Toniebox?
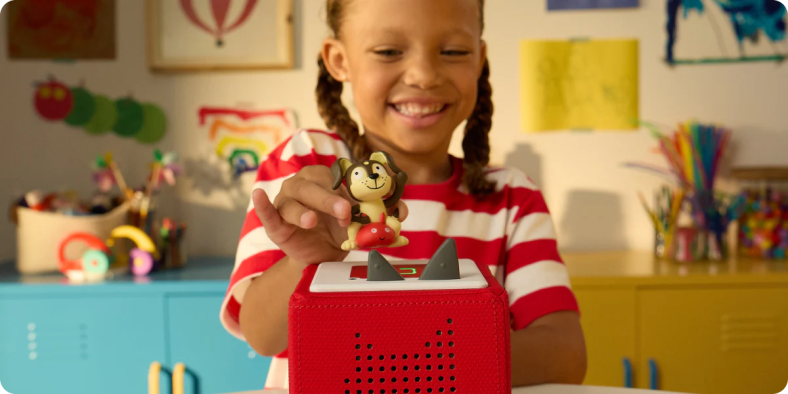
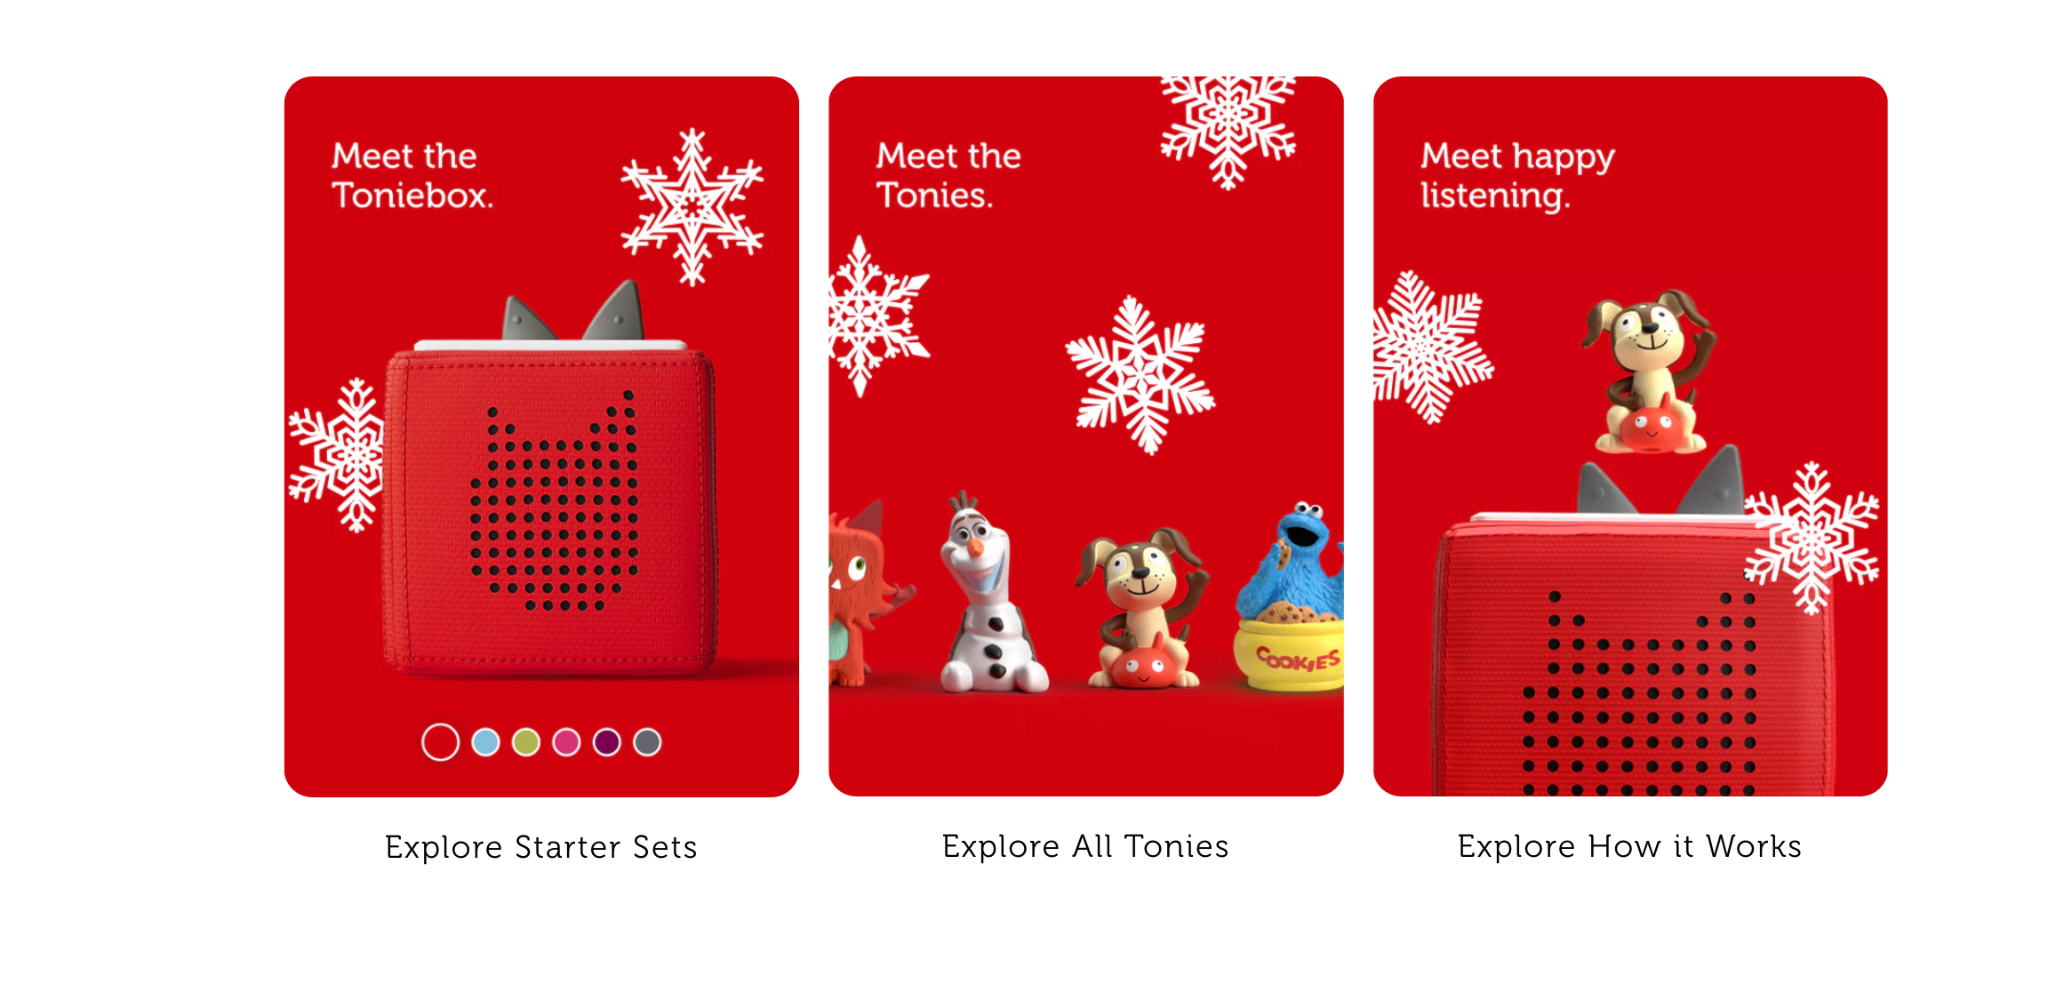
The Toniebox is a soft, cube-shaped audio player designed for children. I have a red and a light-blue one that I have used, and they are truly great for children. Unlike traditional speakers or audio tools that may be used in the classroom, the Toniebox is completely screen-free and user-friendly. It operates through the use of Tonies, which are adorable characters that come preloaded with content, such as songs, stories, or educational lessons. Children ages three and up can use the Toniebox without any problems because it requires them to simply place their Tonie on top of the Toniebox, and the content will play automatically.
The design of the Toniebox is perfect for young learners. It is soft to the touch, durable, and easy for children to operate. What I love about its design are its controls. The volume can be adjusted by pressing the “ears” on top of the box, and tracks can be skipped by tapping the sides of the Toniebox.
What are Tonies?
Tonies are adorable characters that come to life through the Toniebox. The Tonies are placed on a Toniebox to play stories, songs, and language learning activities. There are so many great characters, more than 200 to choose from, and more are being added.
The Magic of Screen-Free Play
The Toniebox stands out from other storytelling products because it is screen-free. By encouraging imaginative play, Tonies helps children develop essential skills such as:
- Creativity: Children can create stories or adventures using their Tonies as inspiration. Give students a Tonie and ask them to write or tell a story about it. It is a great way to build many essential skills and for them to have fun, too!
- Focus and Attention: The variety of narratives and how the Tonies create a more engaging audio experience helps children as they develop their ability to focus and concentrate. They become drawn into the stories, develop close listening skills, and get excited to share what they learn.
- Language Development: To develop language skills, students need a variety of learning opportunities. With the Toniebox, they can listen to stories and songs that will help expand their vocabulary, language skills, and comfort in speaking.
Toniebox in the Classroom
For educators, the Toniebox will be a versatile and impactful addition to the classroom.
Artina Ellsworth, an early educator at Lakeside Primary in Prairieville, Louisiana, told me that she uses Tonies in her “pre-K classroom with the 3-year-olds during music and movement time, read-aloud time, and also in my literacy centers. It helps keep them focused and engaged during reading, helps me teach concepts of print, and also story comprehension for retelling stories. During center time, it also helps them follow the story without me having to sit and read the book with them. It builds their confidence in knowing that they can listen and pretend to read stories by themselves!”
There are so many great uses of the Toniebox! Here are some ideas for bringing a Toniebox into your teaching practice:
1. Listening Centers
The Toniebox can be used in a listening center where students can independently enjoy audiobooks or songs. This fosters self-guided learning and a comfortable way for students to practice their listening comprehension and auditory processing skills.
2. Mindfulness and Relaxation
The Toniebox is perfect for creating a calming environment. During transitions or after lunch, use Tonies that provide mindfulness exercises to help students refocus and relax.
3. Story Time
Use Tonies as a way to create engaging story time sessions for students. Students can create their own stories and even work together to build essential skills of collaboration and creativity!
4. Group Activities
Use Tonies to engage students in some discussions about the story. Ask questions and have students create alternate endings. There are so many possibilities!
Inclusion and Accessibility
The simplicity of the Toniebox makes it accessible to all learners, including those with special needs. Its tactile interface and audio format cater to diverse learning styles and abilities, ensuring every student can participate.
Here are some of the standout features that make the Toniebox a must-have for both classrooms and homes:
1. Durability
The Toniebox is built to withstand the wear and tear of young hands. Its soft padding and design ensure it can handle daily use.
2. Portability
With its rechargeable battery, the Toniebox can go anywhere. Whether it’s used in the classroom, on a field trip, or during a long car ride, it offers hours of uninterrupted learning and fun.
3. Content Variety
From fairy tales to educational lessons, the Tonies’ library ensures something that will meet every child’s interest and learning level. And new Tonies are being released, which helps to keep the learning experience engaging and fun!
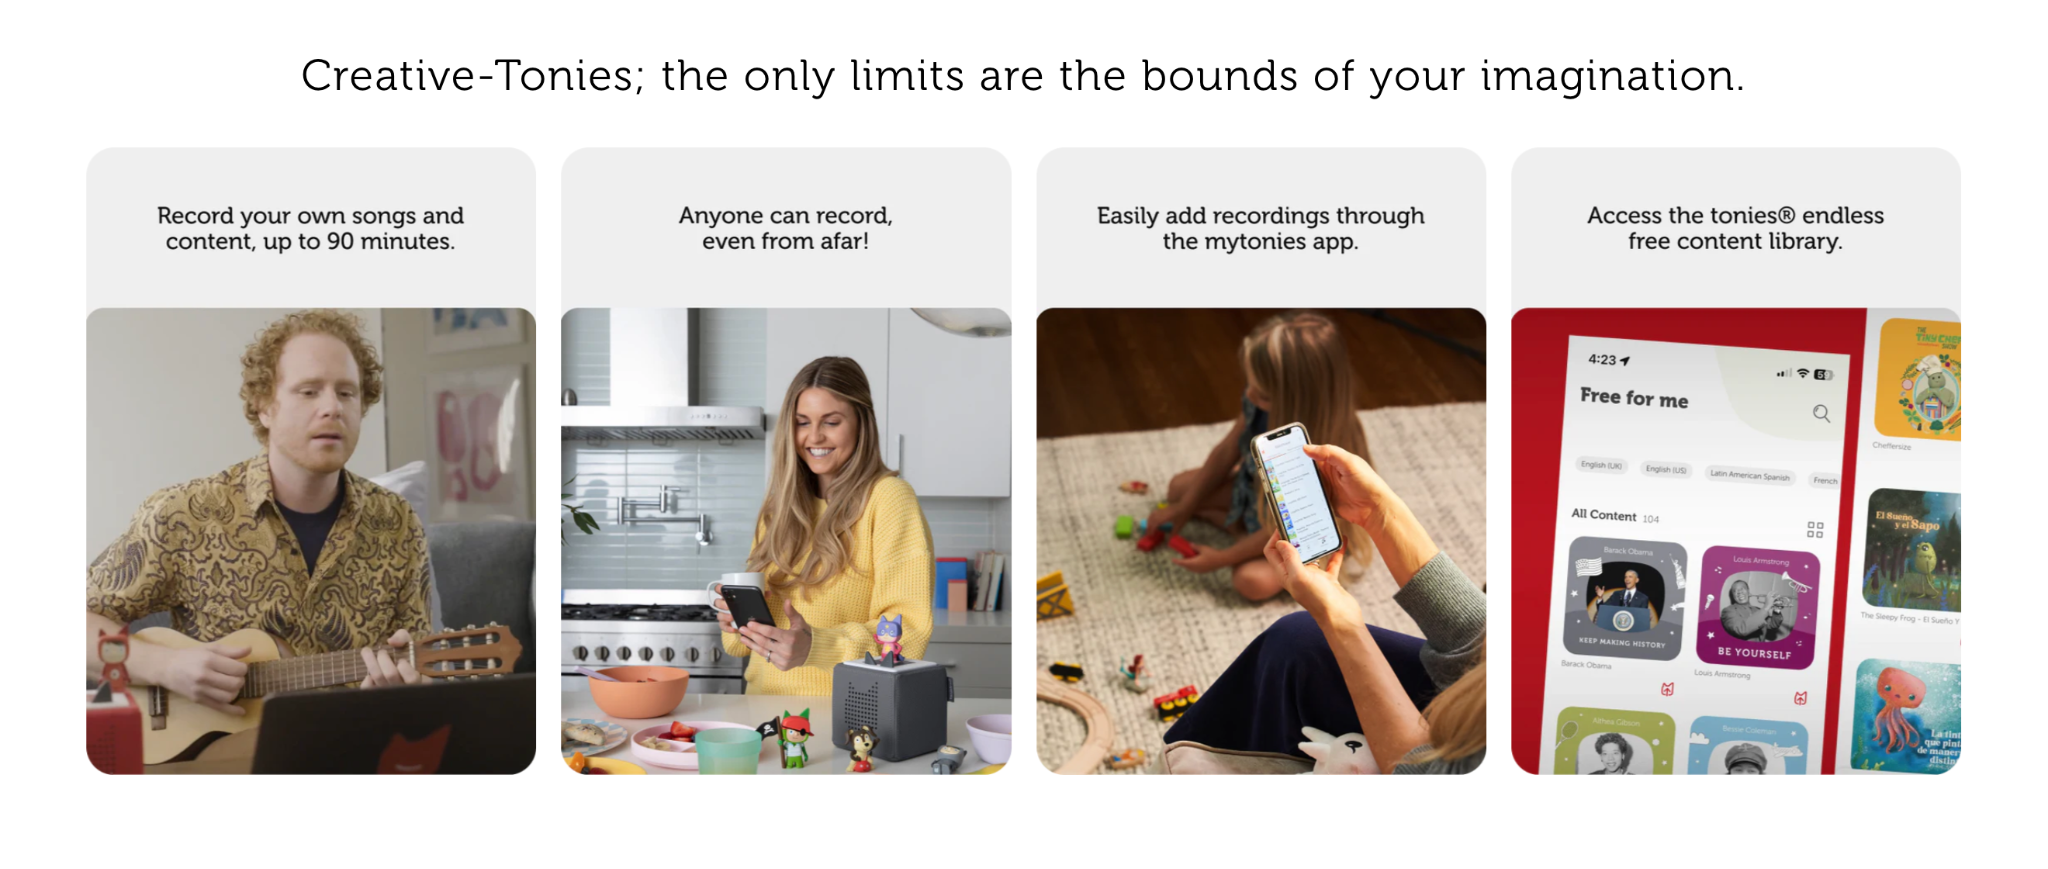
4. Customization
Creative Tonies provide even more opportunities for personalization. Parents can record bedtime stories, and teachers can create custom lessons or messages for their students.
5. Ease of Use
Its unique design means that even the youngest learners can operate the Toniebox independently, which promotes confidence and autonomy.

And now there are even audiobooks that offer more content for kids 6-9! Tonies offer a unique and engaging way to spark children’s imagination and foster a love of learning. By providing a screen-free experience, Tonies helps children develop essential skills while having fun. Whether you’re an educator or a parent, Tonies is a fantastic option to enhance children’s learning and development. Educators, get started today with Tonies through their educator discount!
About Rachelle
Dr. Rachelle Dené Poth is a Spanish and STEAM: What’s Next in Emerging Technology Teacher at Riverview High School in Oakmont, PA. Rachelle is also an attorney with a Juris Doctor degree from Duquesne University School of Law and a Master’s in Instructional Technology. Rachelle received her Doctorate in Instructional Technology, and her research focus was on AI and Professional Development. In addition to teaching, she is a full-time consultant and works with companies and organizations to provide PD, speaking, and consulting services. Contact Rachelle for your event!
Rachelle is an ISTE-certified educator and community leader who served as president of the ISTE Teacher Education Network. By EdTech Digest, she was named the EdTech Trendsetter of 2024, one of 30 K-12 IT Influencers to follow in 2021, and one of 150 Women Global EdTech Thought Leaders in 2022.
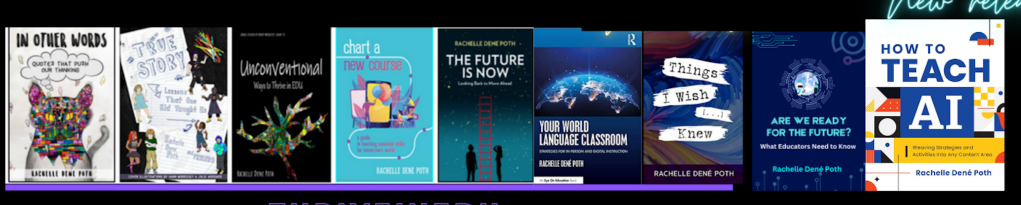
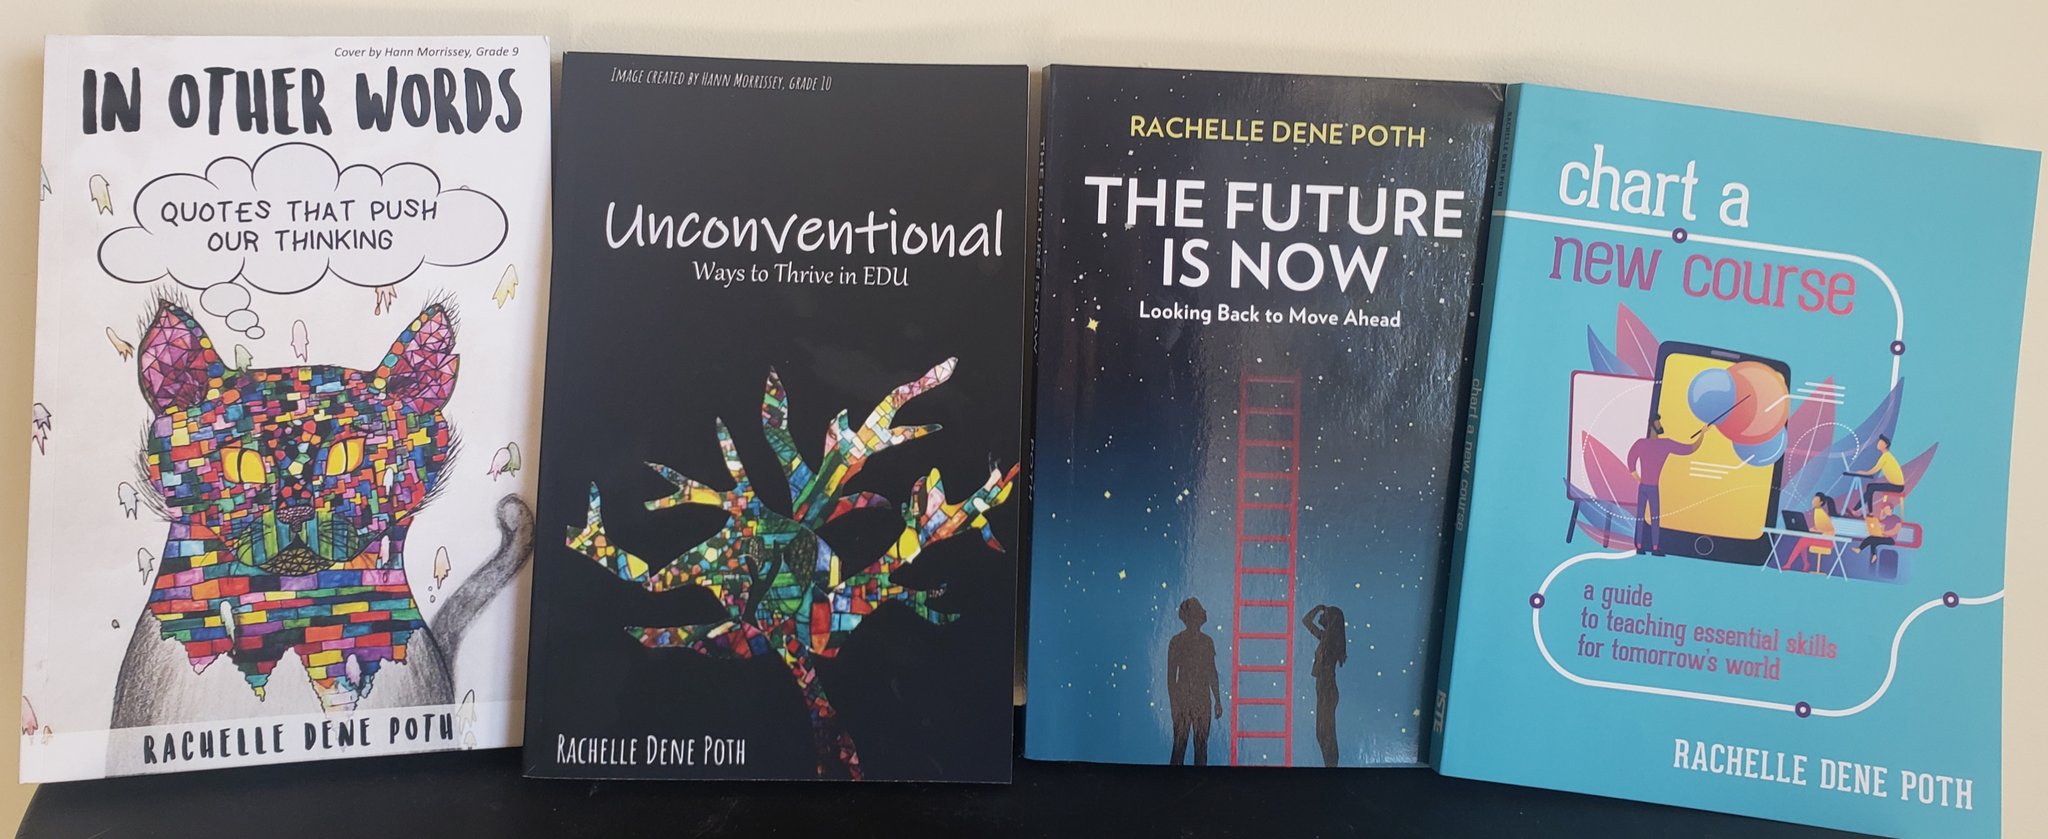
She is the author of nine books including ‘In Other Words: Quotes That Push Our Thinking,” “Unconventional Ways to Thrive in EDU,” “The Future is Now: Looking Back to Move Ahead,” “Chart A New Course: A Guide to Teaching Essential Skills for Tomorrow’s World, “True Story: Lessons That One Kid Taught Us,” “Things I Wish […] Knew” and her newest “How To Teach AI” is available from ISTE or on Amazon.
Contact Rachelle to schedule sessions about Artificial Intelligence, Coding, AR/VR, and more for your school or event! Submit the Contact Form.
Follow Rachelle on Twitter(X) and Instagram at @Rdene915
**Interested in writing a guest blog for my site? Would love to share your ideas! Submit your post here. Looking for a new book to read? Find these available at bit.ly/Pothbooks
************ Also check out my THRIVEinEDU Podcast Here!
Join my show on THRIVEinEDU on Facebook. Join the group here.


 .
.


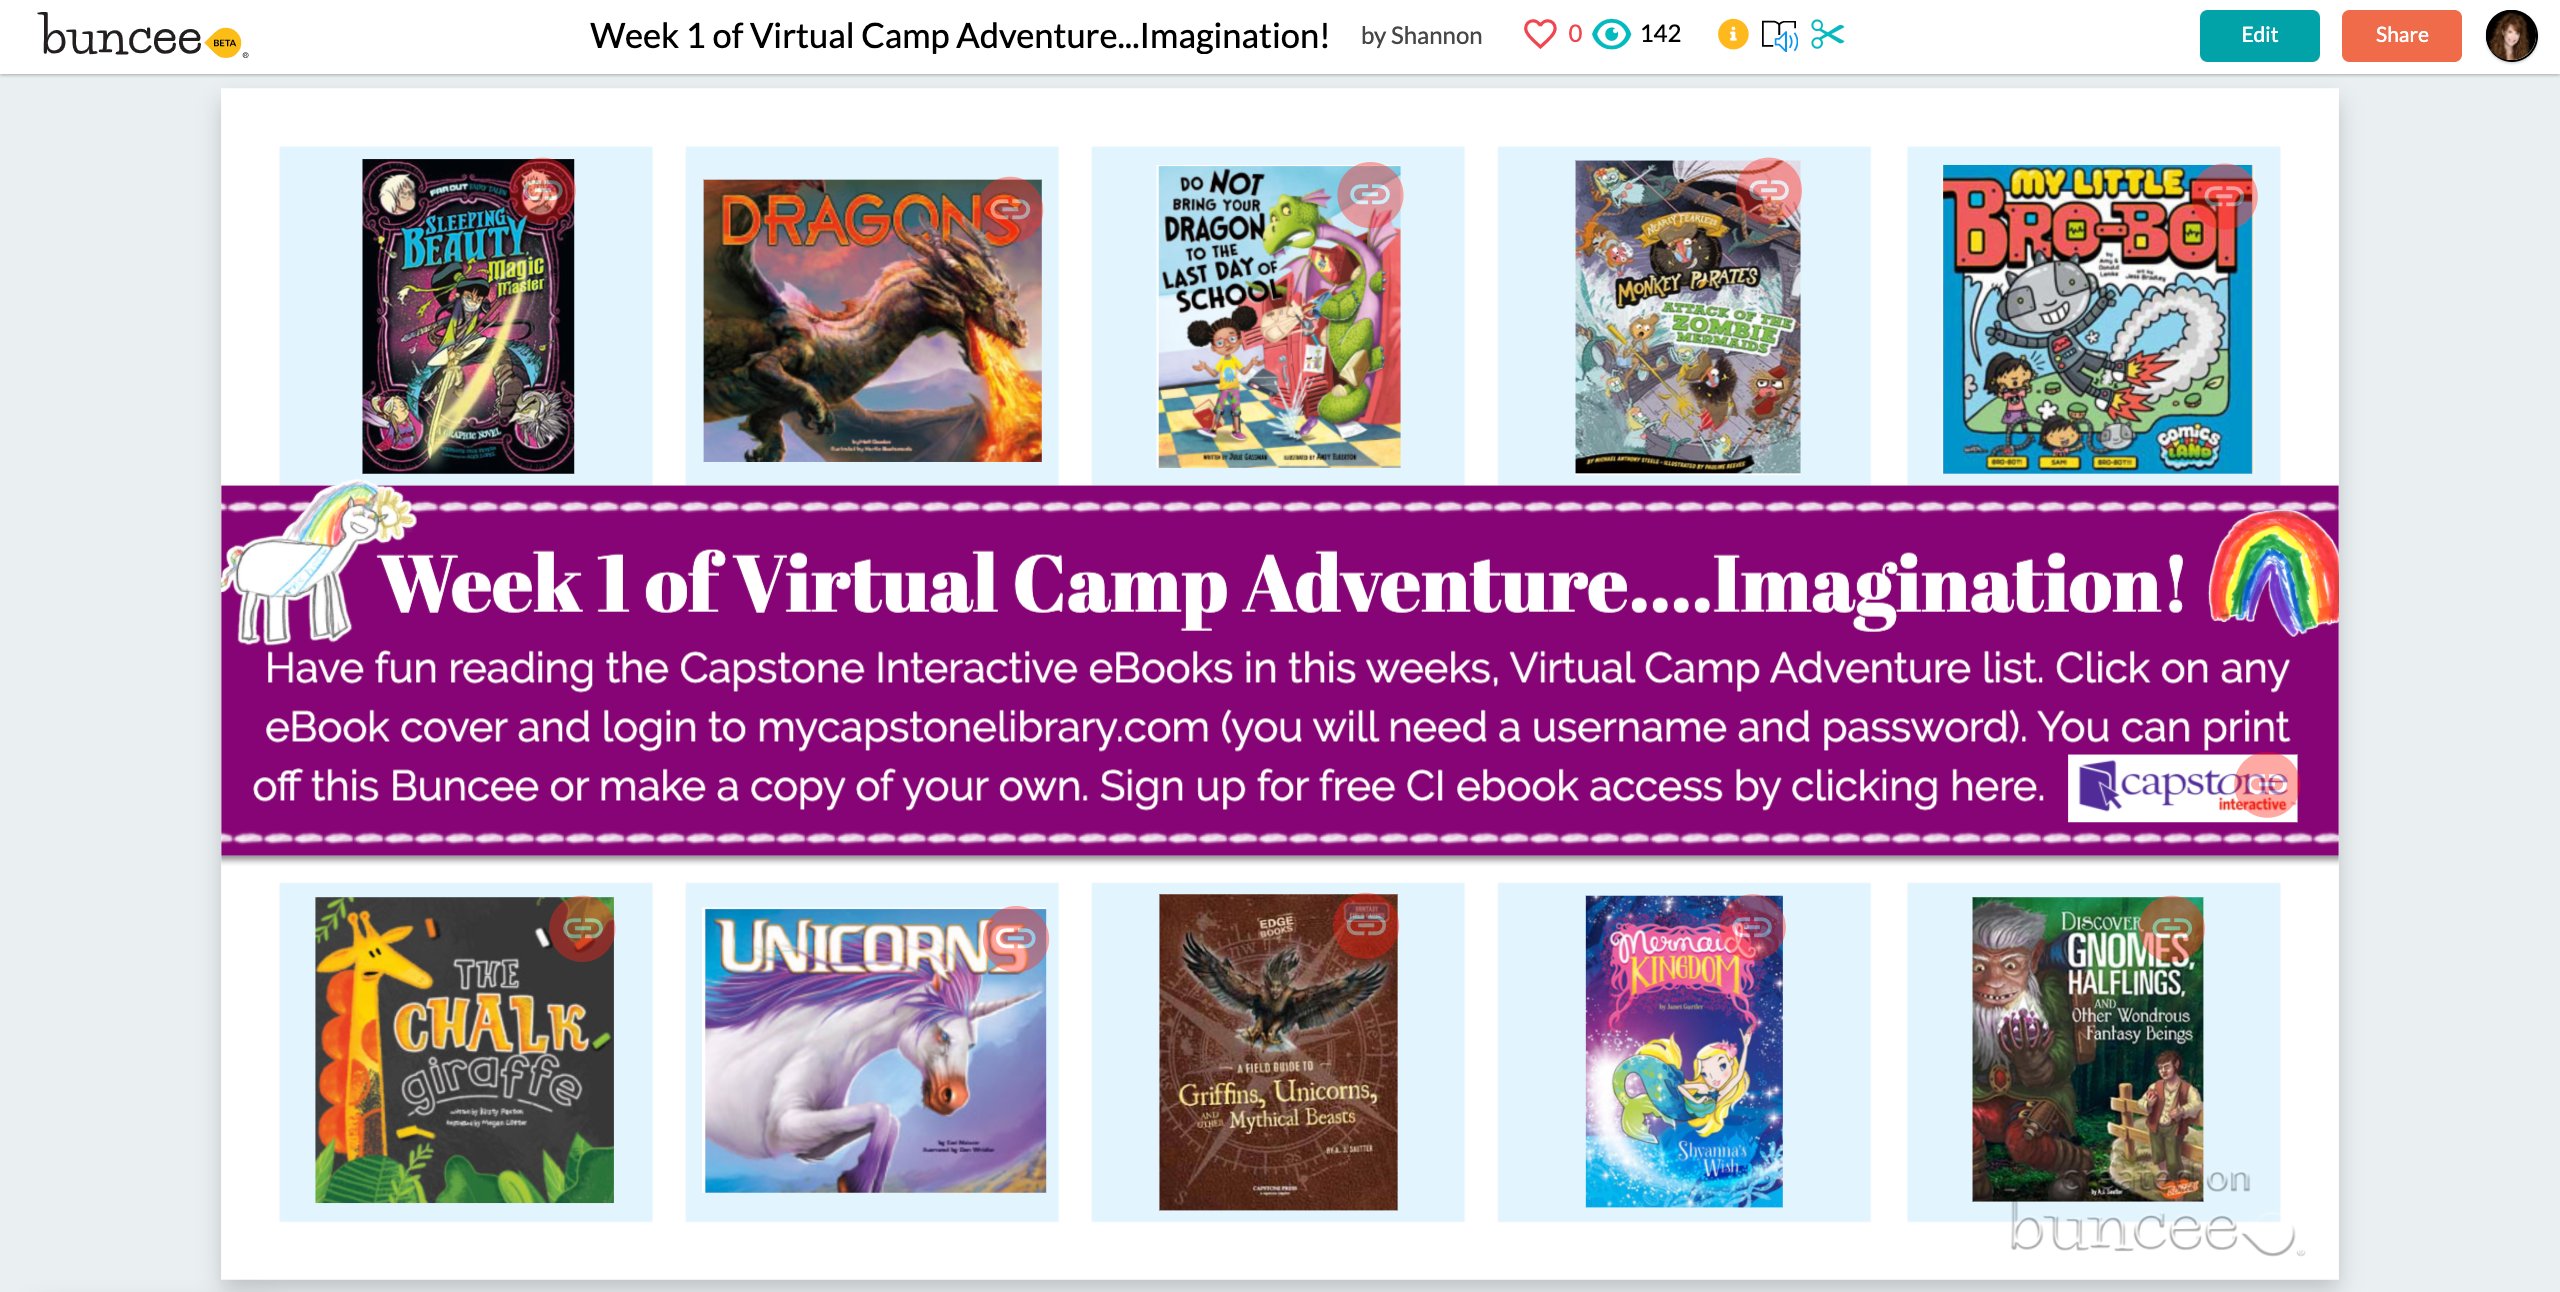


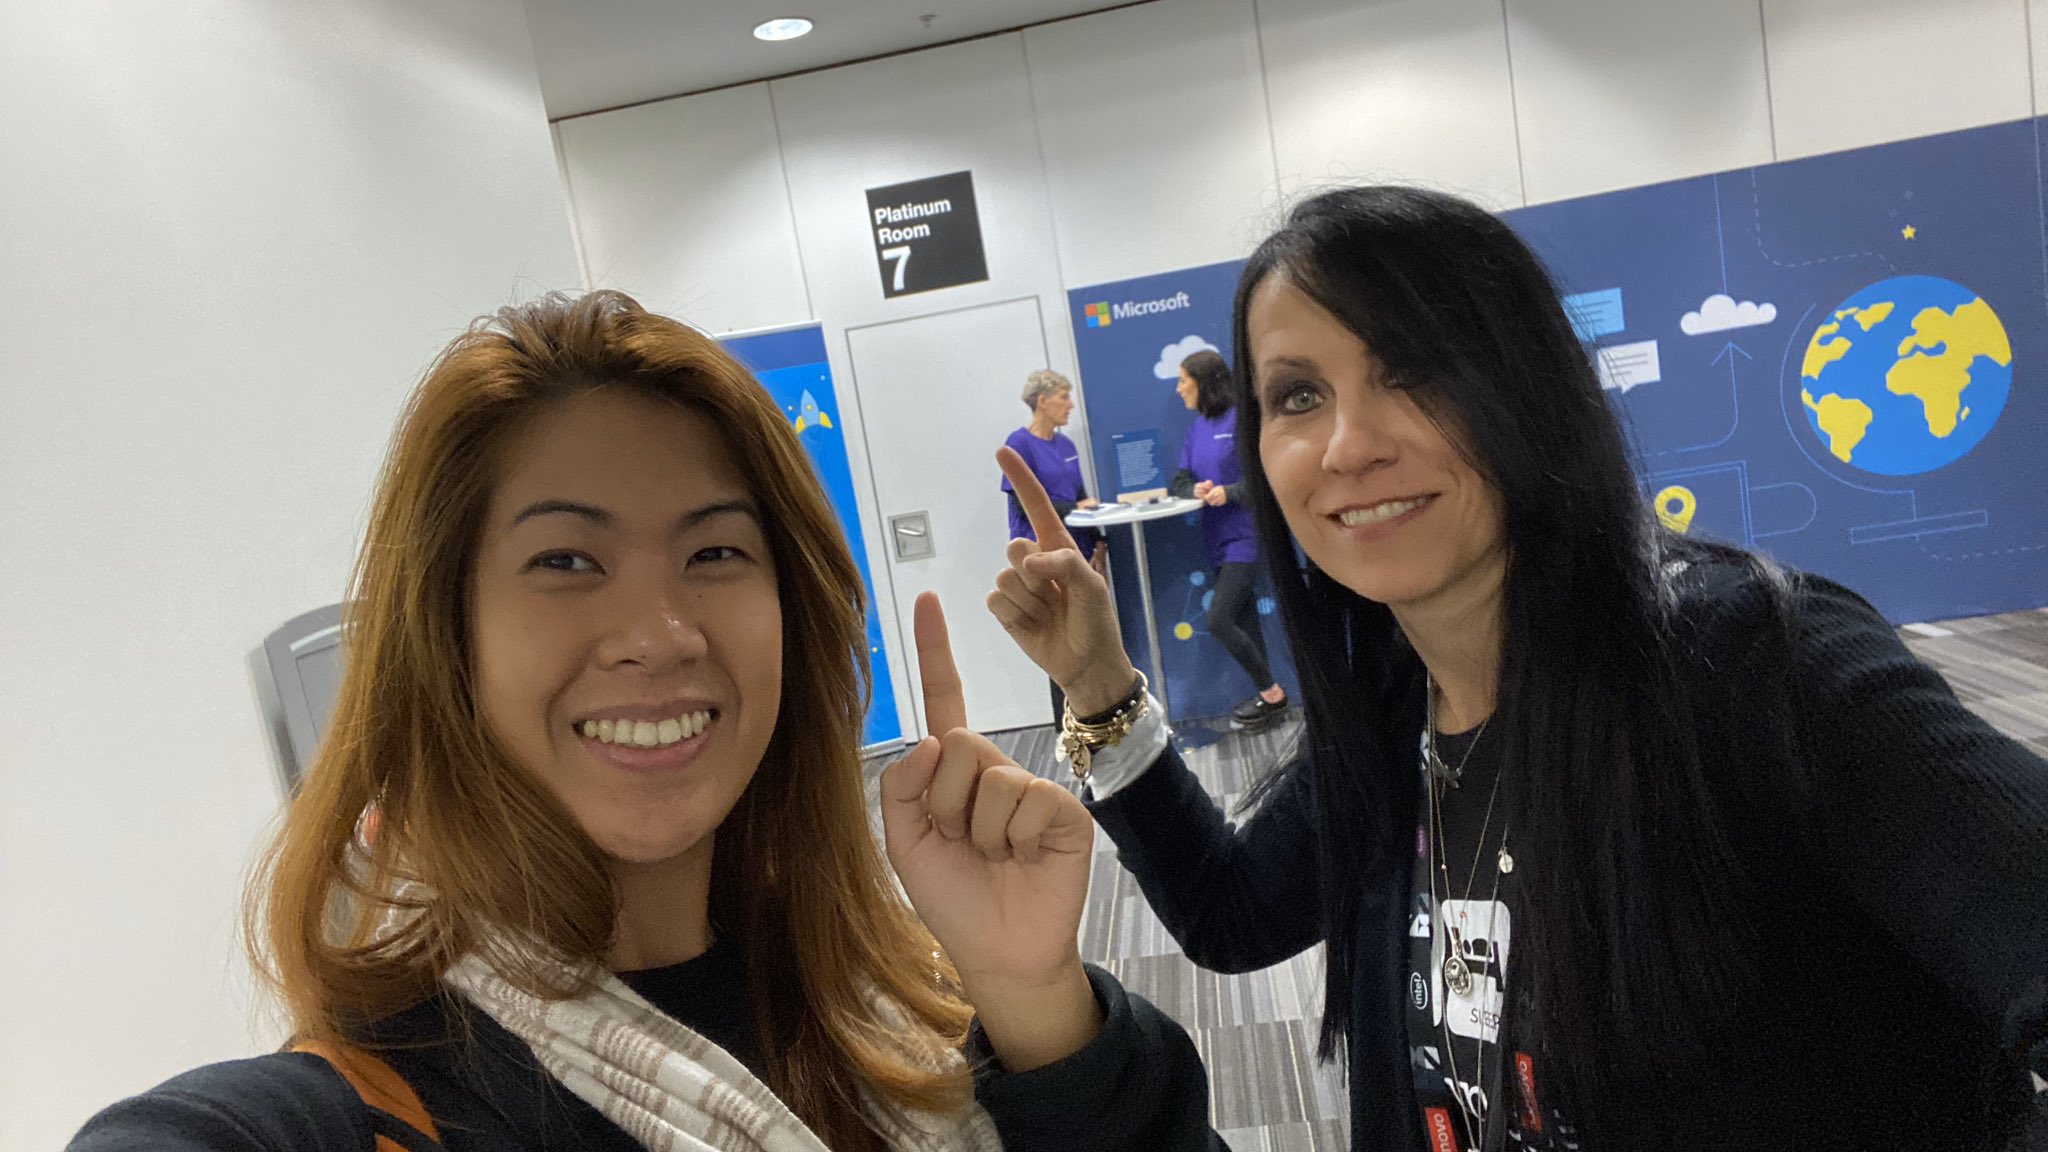
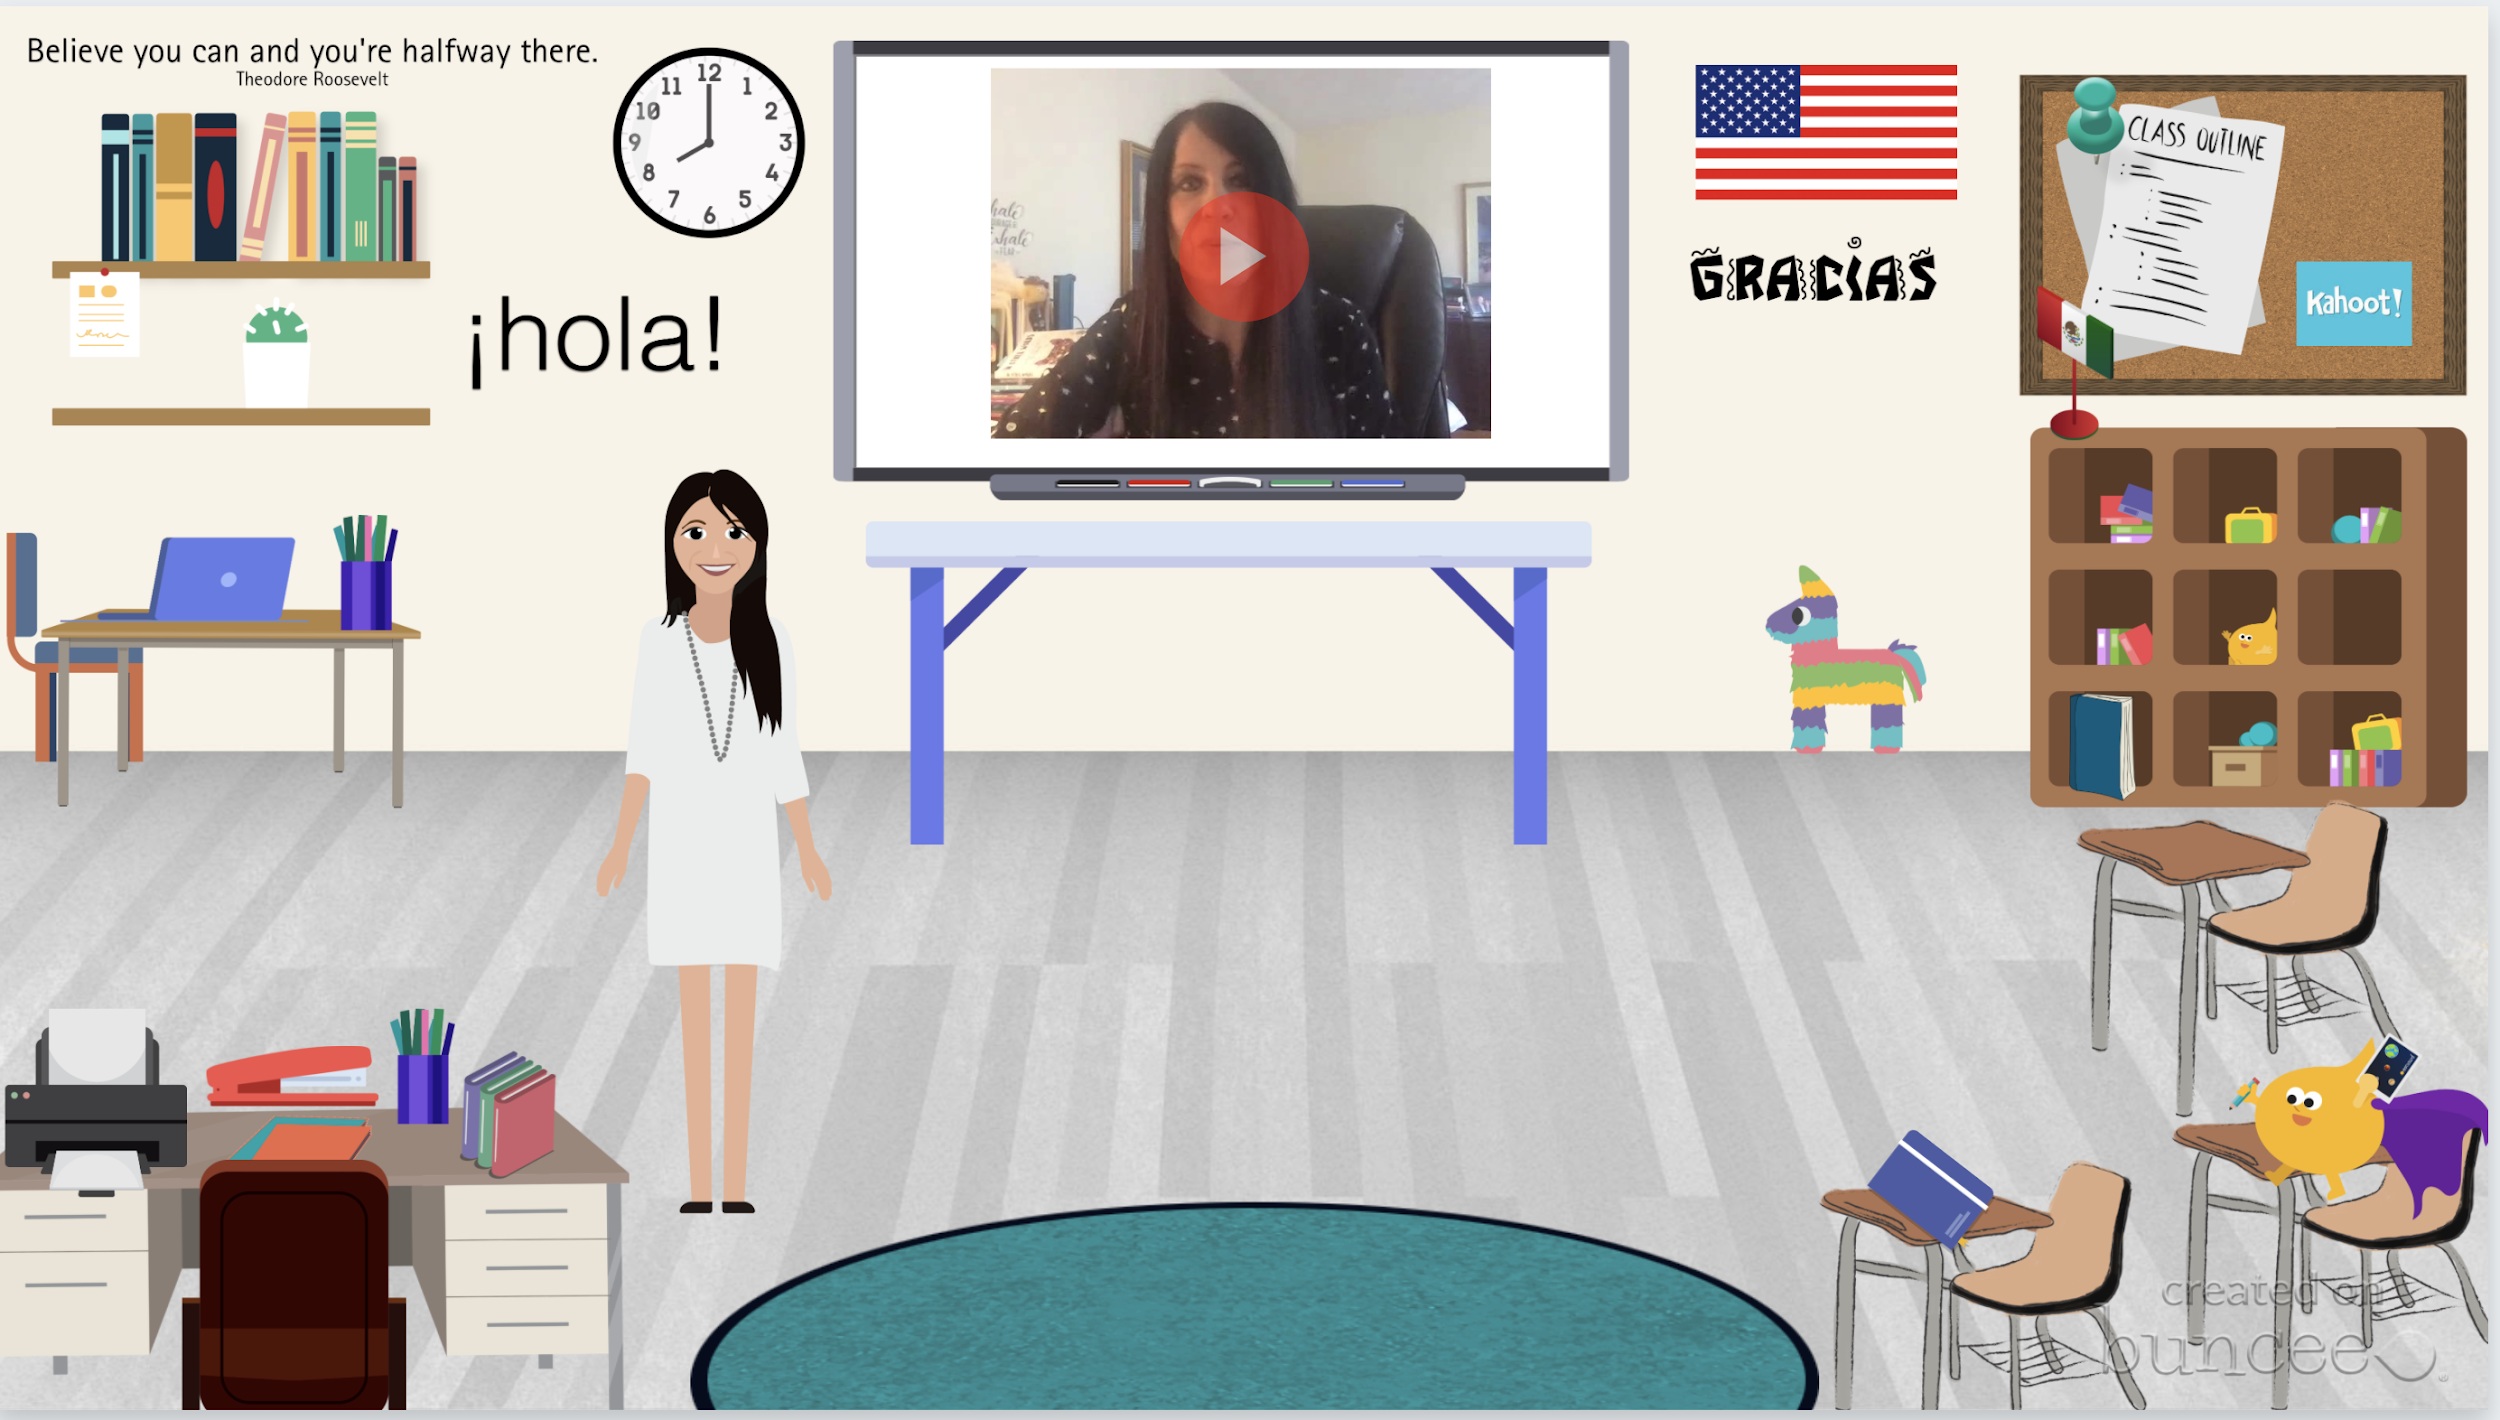
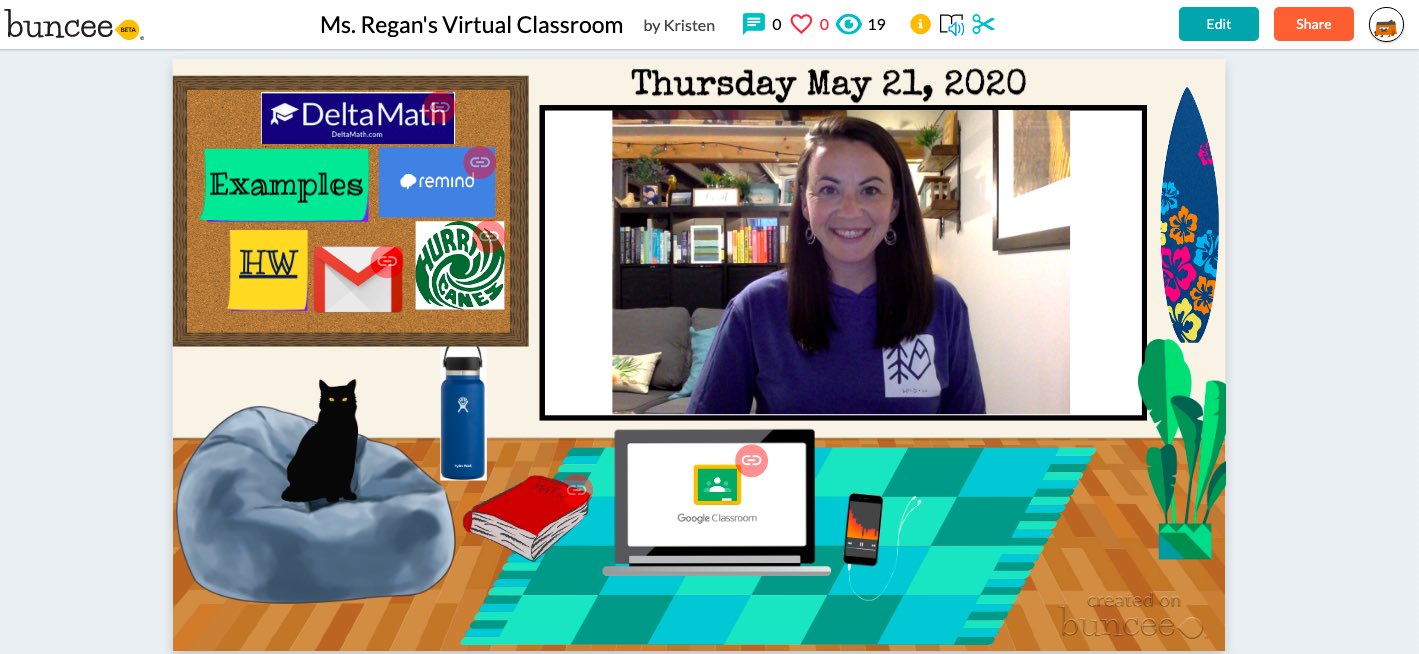
 One other feature that I thought was important to share with students was the new Immersive Reader and how it works. We enjoyed looking at all of the capabilities with it and using Buncee for learning! Check out the video to learn more


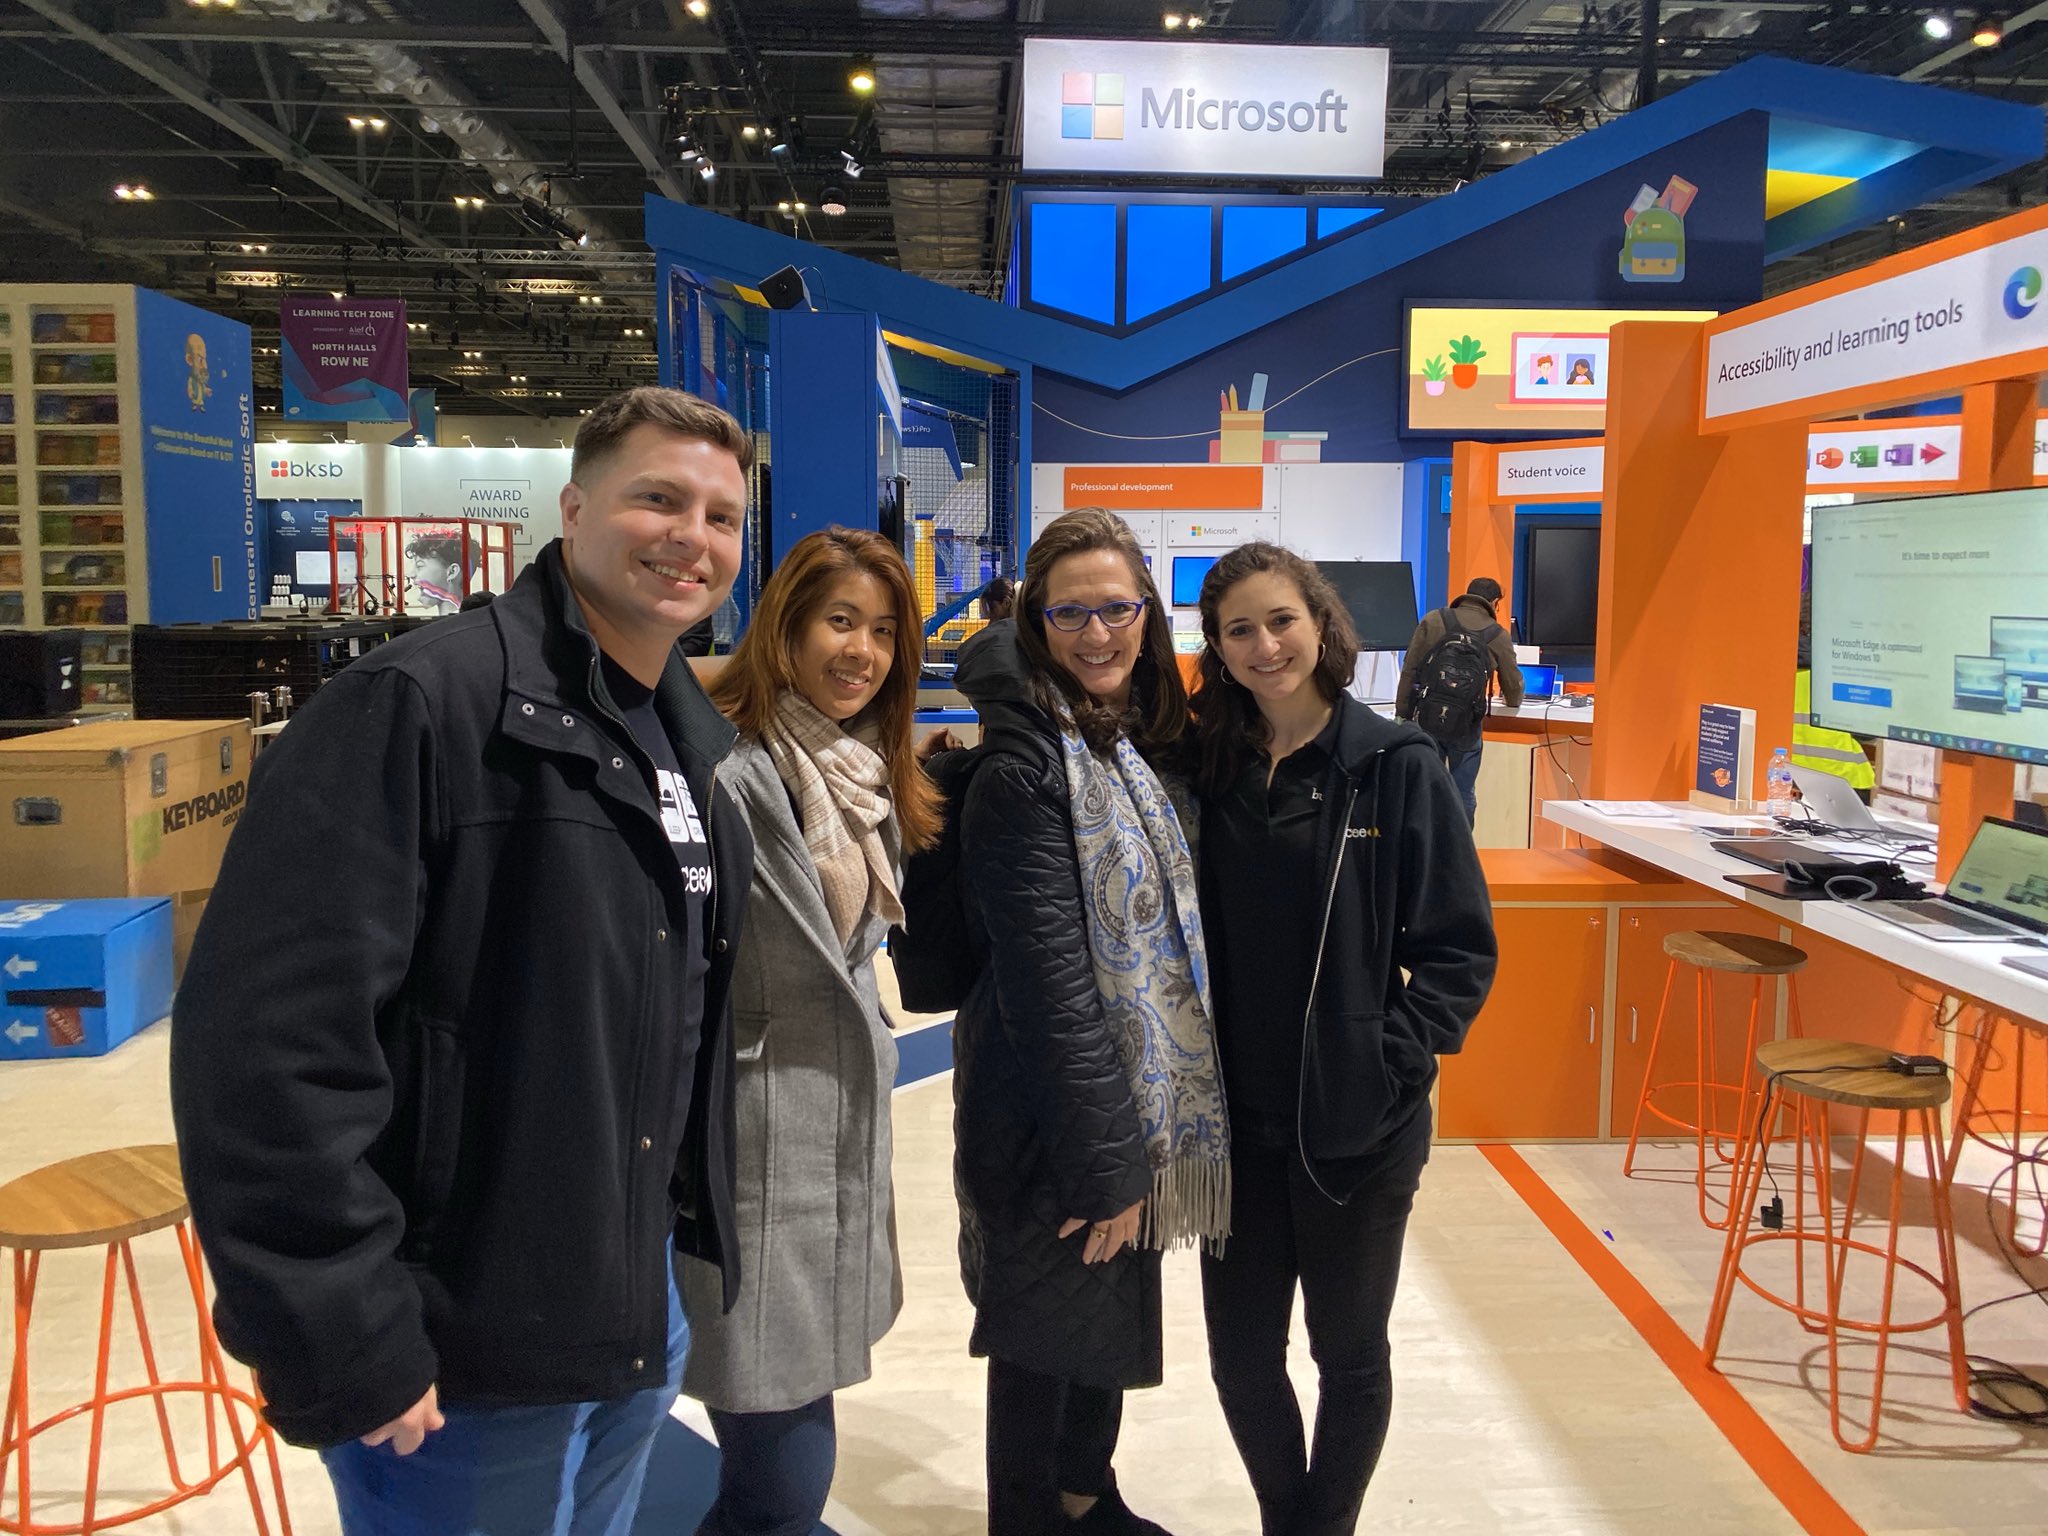
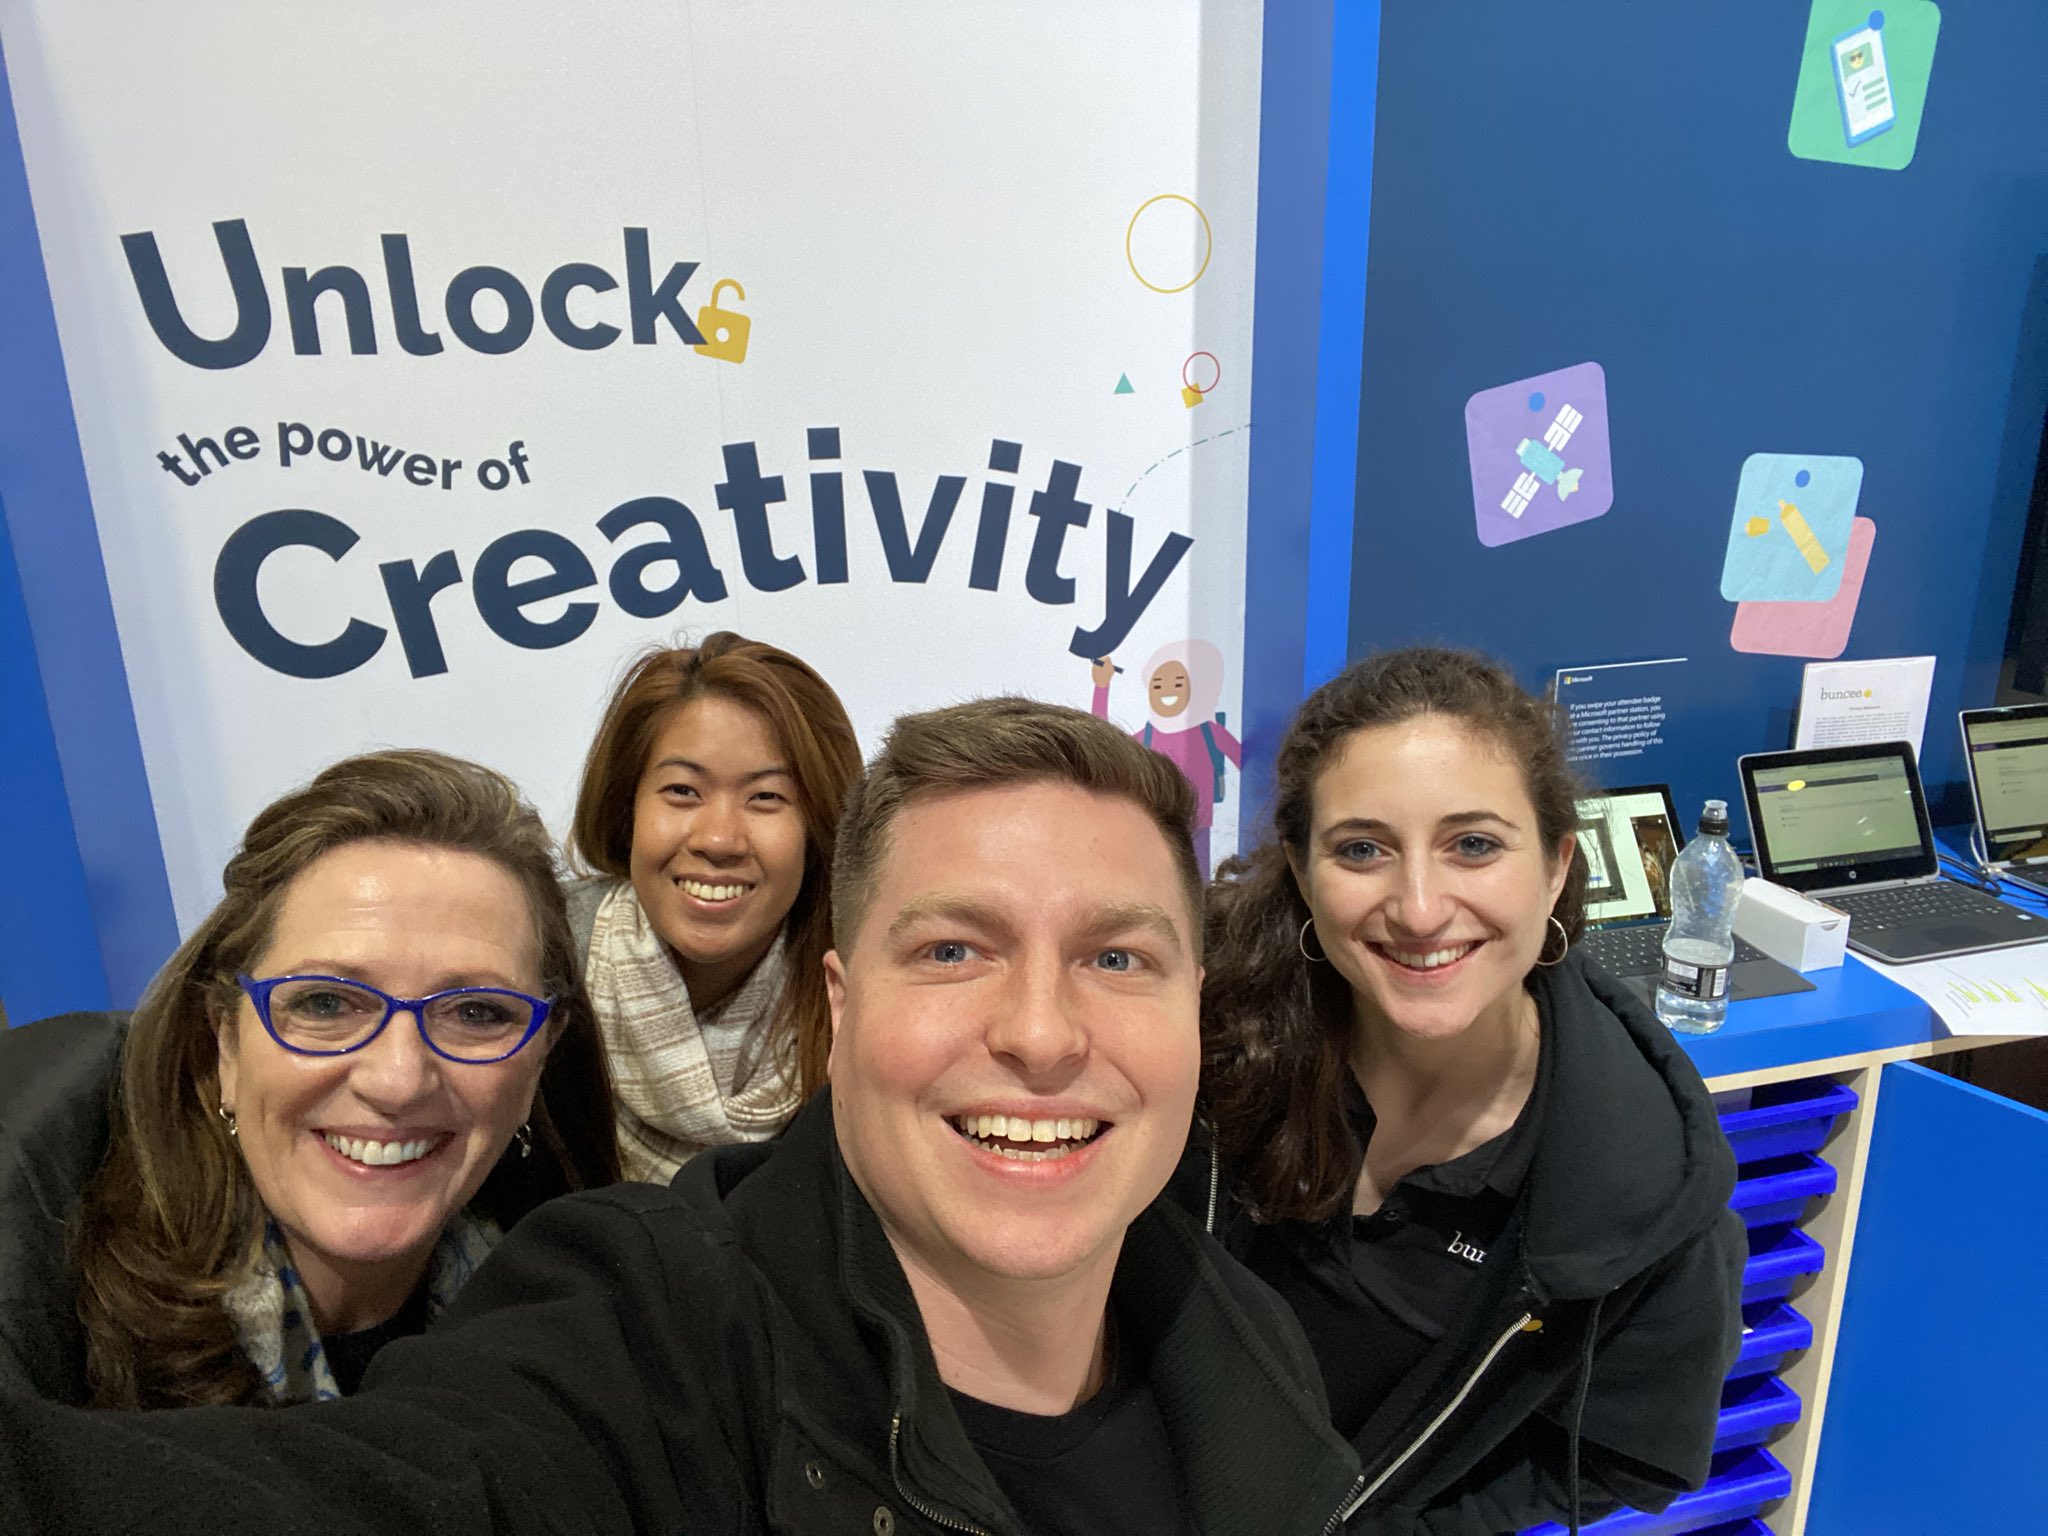 Marie, Eda, Bryan and Francesca

 I was honored to present a session with with Eda Gimenez, about using creativity to nurture a love of learning and the power of immersive reader for accessibility for all learners. We worked on the presentation for a while and I was excited and nervous of course, to present. But what always makes a difference is talking about something that you are passionate about and believe in and also making a connection with the attendance.